How to add camera noise to an AI image, properly
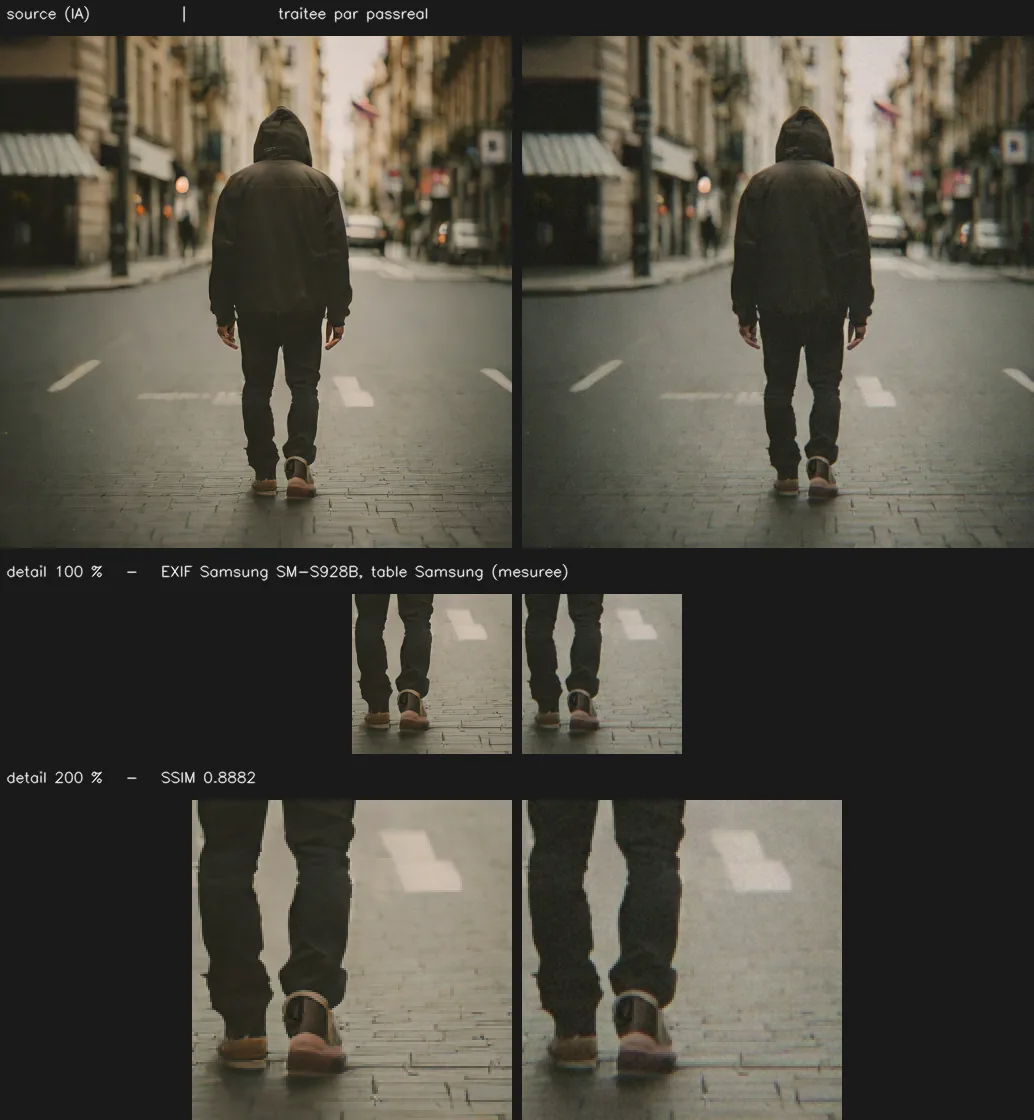
Sensor noise is not uniform static. Shot noise scales with the square root of the signal, so bright areas carry more of it than shadows; read noise is roughly constant; and after demosaicing the noise is correlated between neighbouring pixels rather than independent. Adding flat Gaussian noise reproduces none of that, which is why it reads as added noise rather than as a sensor.
Last updated: 2026-08-31
What sensor noise actually is
Three separate phenomena get bundled under one word, and they behave differently.
Shot noise comes from the arrival statistics of light itself. Photons hit a photosite at random intervals, so the count in a fixed exposure follows a Poisson distribution, whose standard deviation is the square root of its mean. The practical consequence is that noise grows with brightness in absolute terms while shrinking relative to the signal. Highlights carry more noise than shadows, not less.
Read noise comes from the electronics converting charge to a number. It is roughly constant regardless of signal, which is why it dominates in dark regions, and why shadow areas of an underexposed photograph look grainy.
Pattern noise comes from photosites not being identical. It is fixed for a given sensor, which is what makes photo-response non-uniformity usable for camera identification.
Why uniform noise gives itself away
The default noise tool in an image editor adds an independent random value to every pixel, drawn from the same distribution everywhere. Two properties of that are wrong.
It does not scale with signal. A flat highlight and a flat shadow receive the same disturbance, which no sensor produces.
It is independent between neighbouring pixels. Real sensor noise is not, because demosaicing interpolates missing colour values from neighbours, which correlates their errors. The autocorrelation of noise in a demosaiced image has structure; the autocorrelation of editor noise is a spike at zero and nothing else.
Both properties are straightforward to measure on a flat patch, and both survive JPEG compression well enough to remain measurable.
Doing it in the right order
Noise has to be applied to linear-ish pixel values before resampling and before compression, because both operations average neighbours and destroy the grain structure. Applied afterwards, the grain sits on top of a smoothed image as a separate layer.
This is why the pipeline runs the sensor stage early: grain at intensity 0.018, then lateral chromatic aberration reaching 1.25 px at the corners, then the frequency filter at 0.88 of Nyquist, then the encode. Reordering those stages produces an image where each effect contradicts the one before it.
Doing it by hand, if you want to
The manual route is worth understanding even if you end up automating it, because it makes the failure modes concrete.
- Work in a linear colour space if your tool offers one. Noise added to gamma-encoded values lands unevenly across the tonal range, which reverses the relationship you are trying to reproduce.
- Generate the noise at full resolution and never scale it. Scaling a noise layer is the single most common way to end up with grain that has visible structure at the wrong size.
- Apply more to the green channel than to red and blue if your tool separates them, matching the denser green sampling of a Bayer layout.
- Modulate by luminance so highlights receive more absolute disturbance than shadows, which is what shot noise does.
- Then stop. The temptation is to keep going until the grain is visible, and visible grain is the failure condition, not the goal.
An editor can approximate the first four with masks and blend modes. What it cannot easily reproduce is the correlation between neighbouring pixels that demosaicing introduces, which is why the result tends to hold up visually and not statistically.
The intensity trap
Grain intensity is the dominant lever in this pipeline and it moves two things in opposite directions. Turning it down improves the fidelity numbers and makes visual regression checks pass. It also makes the image easier to classify, because the noise floor it was supposed to supply is no longer there.
Any change to this value has to be measured on both axes at once - fidelity and detectability - or it is not a measurement, it is a preference. That is why the setting is 0.018 rather than something rounder.
| What is checked | Value |
|---|---|
| Accepted formats | PNG, JPEG, WebP |
| Maximum size | 20 MB |
| Maximum dimension | 8192 px on the longest side |
| Sensor grain intensity | 0.018 |
| Lateral chromatic aberration | 1.25 px at the corners, none at the centre |
| Frequency cutoff | 0.88 of Nyquist |
Questions
Can I just use Add Noise in Photoshop?
You can, and it will look plausible to a person. It will not behave like sensor output under measurement, because Photoshop's noise is uniform across brightness levels and independent between pixels, while sensor noise is neither.
How much noise is the right amount?
Less than most people apply. PassReal uses an intensity of 0.018. Raising it makes regression fixtures pass while making the image measurably easier to classify, which is the trap: visible grain looks convincing to a viewer and reads as an added layer to a model.
Should noise be added before or after resizing?
Before any resampling, and before compression. Resizing after adding noise averages neighbouring values and destroys the grain structure, leaving a smoothed texture that matches neither the original nor a sensor.
Does the noise need to differ per channel?
Yes. A colour sensor samples one colour per photosite and interpolates the rest, so the green channel is sampled twice as densely as red or blue in the common Bayer layout. Noise that is identical across all three channels is not what a demosaiced image looks like.
Does adding grain hurt image quality?
It costs a measurable amount of PSNR, reported per image on the sheet above. At the intensity used here the cost is small and the grain is invisible at viewing size, which is the point: grain you can see is grain a classifier can isolate.
Limits
Naturalization operates on the pixels and on the file, not on the content of the image. A subject that is implausible - six fingers, inconsistent reflections, text that does not read - stays implausible after processing, and a human reviewer will notice it. PassReal changes what a statistical classifier measures, not what a person sees.
Results vary by generator, by subject and by detector, and detectors are retrained. No pass rate is published on this page because none has been measured in a way that would still hold next month.
Three images, no card, no expiry.